
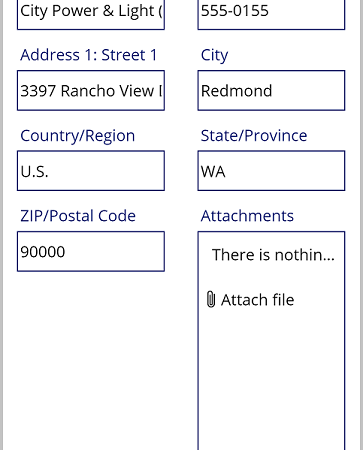
After selecting a case, agents need enough context to understand the issue before making a change. This screen displays the selected Case record and its customer relationship.
1. Bind the selected case
Use the variable set by the browse gallery:
varSelectedCaseFor labels, bind the subject to varSelectedCase.Title, the description to the description column, and the created date to the Created On column. Power Apps display names can differ from logical names and may be localized.
2. Show customer details
The Case customer lookup can reference either an Account or a Contact. Do not assume it always contains an Account. Handle both record types and show a clear fallback when the customer is blank.
If(
    IsBlank(varSelectedCase.Customer),
    "No customer linked",
    varSelectedCase.Customer.'Account Name'
)
The exact field projection depends on whether the lookup resolves to Account or Contact. In production, use an explicit type-aware branch or separate related-record controls rather than relying on an Account-only expression.
3. Display status and priority
Bind choice columns directly to labels or use Text() where appropriate. Avoid hard-coding numeric choice values because they can vary between environments.
4. Add navigation and refresh
Refresh(Cases);
Set(varSelectedCase, LookUp(Cases, Case = varSelectedCase.Case))
Replace the primary key identifier in the lookup with the actual Case primary key field exposed by your data source. This refresh pattern is useful after an update or when another user may have changed the record.